Migrate from MSSQL to Supabase
Migrate your Microsoft SQL Server database to Supabase.
This guide aims to demonstrate the process of transferring your Microsoft SQL Server database to Supabase's PostgreSQL database. Supabase is a powerful and open-source platform offering a wide range of backend features, including a PostgreSQL database, authentication, instant APIs, edge functions, real-time subscriptions, and storage. Migrating your MSSQL database to Supabase's Postgres enables you to leverage Postgres's capabilities and access all the features you need for your project.
Retrieve your MSSQL database credentials
Before you begin the migration, you need to collect essential information about your MSSQL database. Follow these steps:
- Log in to your MSSQL database provider.
- Locate and note the following database details:
- Hostname or IP address
- Database name
- Username
- Password
Retrieve your Supabase host
-
If you're new to Supabase, create a project. Make a note of your password, you will need this later. If you forget it, you can reset it here.
-
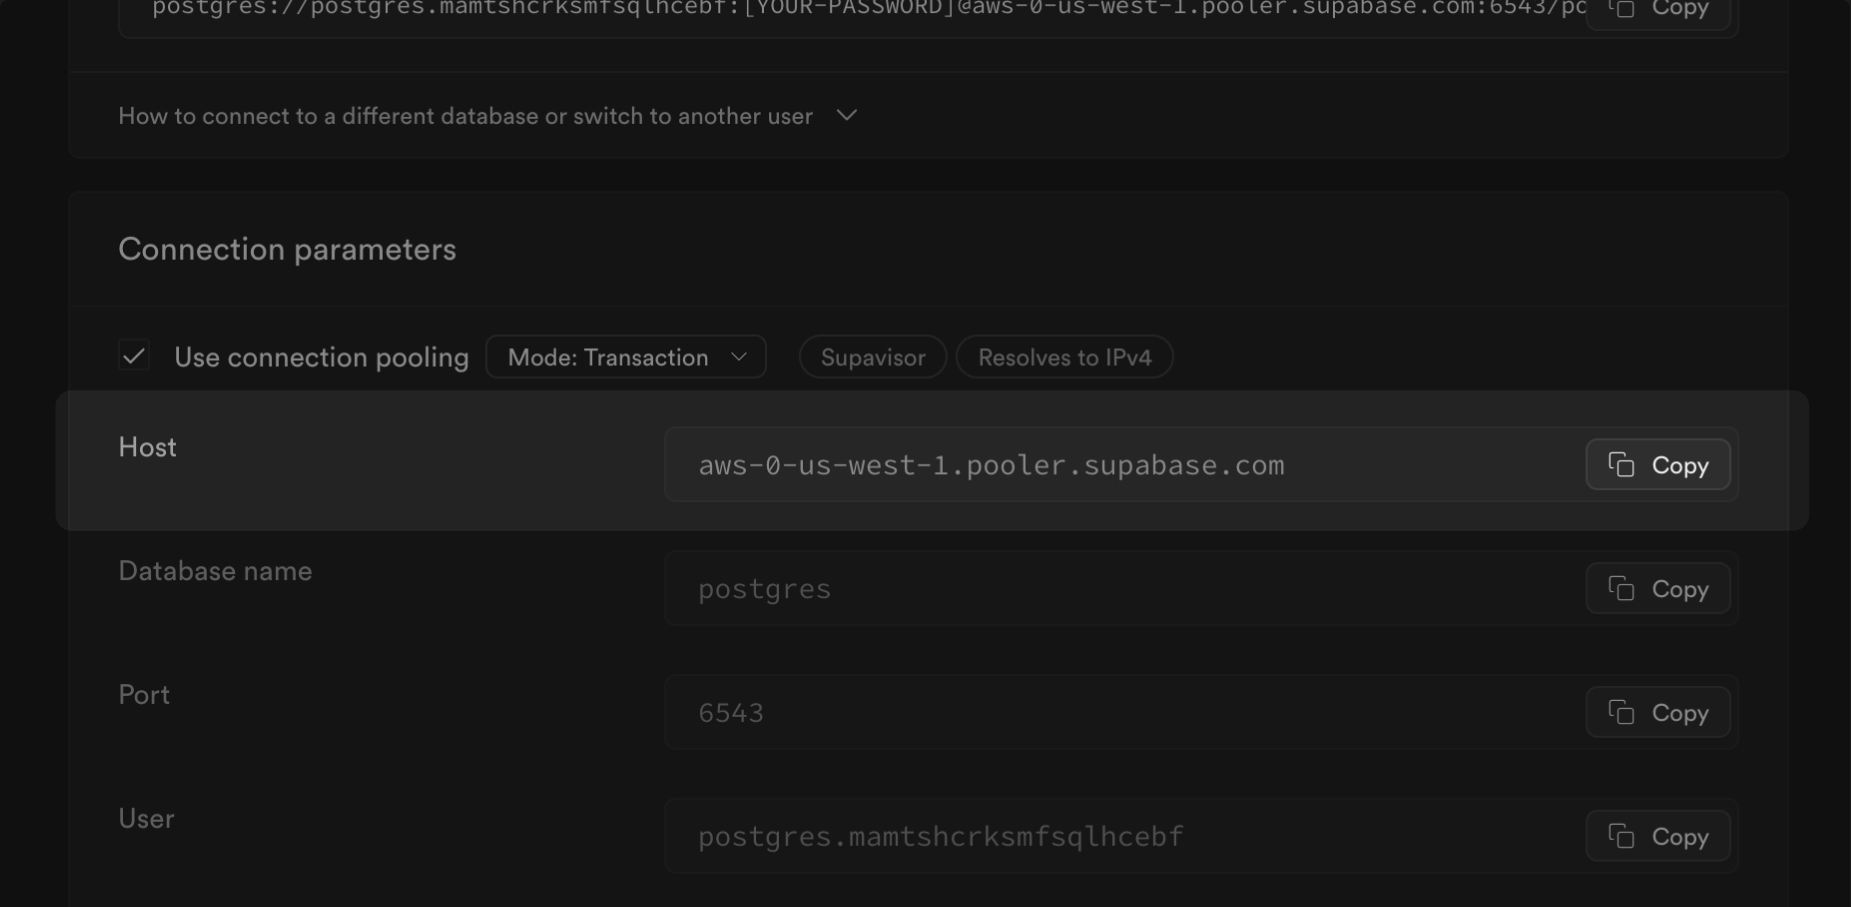
Go to the Database settings for your project in the Supabase Dashboard.
-
Under Connection Info, note your Host (
$SUPABASE_HOST).

Migrate the database
The fastest way to migrate your database is with the Supabase migration tool on Google Colab.
Alternatively, you can use pgloader, a flexible and powerful data migration tool that supports a wide range of source database engines, including MySQL and MS SQL, and migrates the data to a Postgres database. For databases using the Postgres engine, we recommend using the pg_dump and psql command line tools, which are included in a full PostgreSQL installation.
- Select the Database Engine from the Source database in the dropdown.
- Set the environment variables (
HOST,USER,SOURCE_DB,PASSWORD,SUPABASE_URL, andSUPABASE_PASSWORD) in the Colab notebook. - Run the first two steps in the notebook in order. The first sets engine and installs the necessary files.
- Run the third step to start the migration. This will take a few minutes.
-
If you're planning to migrate a database larger than 6 GB, we recommend upgrading to at least a Large compute add-on. This will ensure you have the necessary resources to handle the migration efficiently.
-
For databases smaller than 150 GB, you can increase the size of the disk on paid projects by navigating to Database Settings.
-
If you're dealing with a database larger than 150 GB, we strongly advise you to contact our support team for assistance in provisioning the required resources and ensuring a smooth migration process.
Enterprise
Contact us if you need more help migrating your project.